

New torsion bars from Sway-A-Way
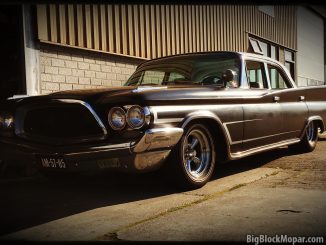
Recently I ordered a pair of new 1.08″ diameter torsion bars from Sway-A-Way for my ’73 Dodge Dart. These are to replace the current 1″ diameter torsion bars from Just Suspension. The 1″ bars are [more … ]
Recently I ordered a pair of new 1.08″ diameter torsion bars from Sway-A-Way for my ’73 Dodge Dart. These are to replace the current 1″ diameter torsion bars from Just Suspension. The 1″ bars are [more … ]
I think I found myself a perfect garage-help to hold the laptop while I’m tuning my MegaSquirt … setup on the car… ):o)
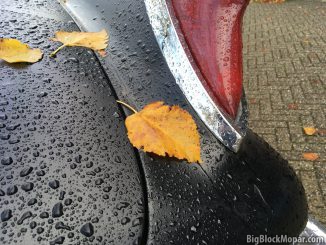
Autumn had really set in, which I tried to capture with this photo of leaves and raindrops on the trunk and rear fender of the ’60 Chrysler New Yorker and a row of trees with [more … ]

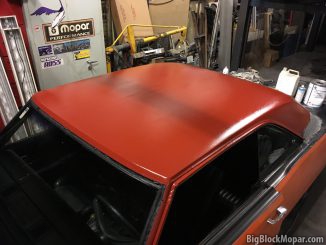
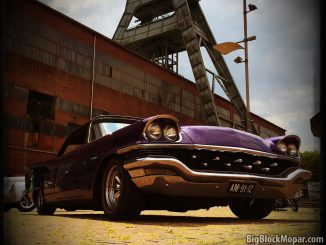
Now the roof was sealed and painted, it was time to paint the rest of the horizontal panels on the car. The existing dull paint was sanded lightly and degreased thoroughly before a layer of [more … ]
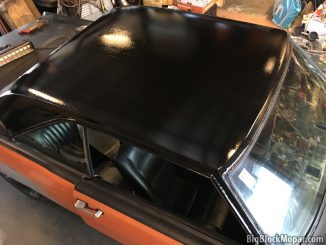
After the primer had settled and dried, the roof got painted gloss black. Because of the nice, vinyl-like structure of the primer, the finish of the roof in black was to my liking. The roof [more … ]
I opted to wrap the sides of the Dart with vinylwrap. But in order to do this ‘neatly’, the sheetmetal had to be straightened a bit and any bumps and dips smoothed out. One thing [more … ]
As my regular daily driver, the ’73 Dodge Dart, is in the garage for its vinlytop removal and roof-maintainance, I resorted to using my next-best daily driver-candidate, the 1960 Chrysler New Yorker. So for over [more … ]
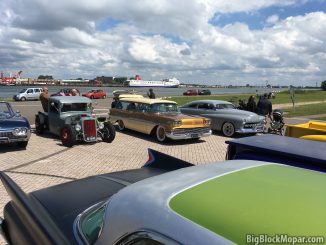
The Scrapers carclub organised a nice little car-meeting at the land’s end at Rozenburg. This unique location is being almost completely surrounded by water. I brought along my 1960 Chrysler NewYorker to the meeting.
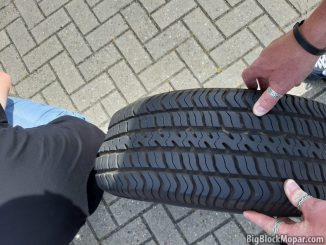
During a trip to the “King Cruise” car-meeting, I got a sense there was something wrong on the 1957 Chrysler I was driving. It felt like a wheel was ‘getting’ out of balance and I [more … ]
Me and a friend of mine decided to visit the 2019 Kustom Kulture weekend in Herten, Germany. The weather was perfect for the 2hr trip to Germany, so we loaded up my ’57 Chrysler and [more … ]
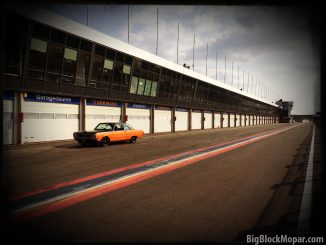
Last sunday I was finally able to spend some time on a racecircuit with my ’73 Dart. The track is at the Dutch city of Zandvoort. The tracktime event was a 20 minute event that [more … ]
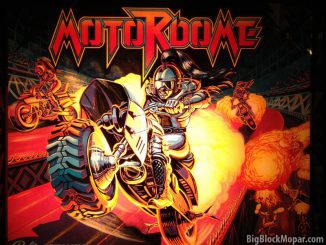
Just sharing some pics of the 1986 Motordome pinball machine made by Bally Midway I’ve already had for many years.
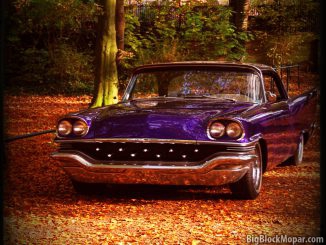
As a follow-up on the previous photo-day out with 1960 Chrysler New Yorker, I decided to take out the 1957 Chrysler as well for some nice autumn color pics. Still, the leaves on the trees [more … ]
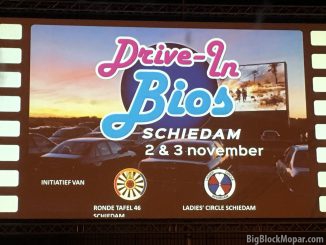
A group of people recently organised a number of Drive-In Cinema-events on the premises of a local Gin distillery called ‘Nolet Distillery’, located in the town of Schiedam. The location is also the site of [more … ]
Copyright © 2024 | WordPress Theme by MH Themes